
What to Expect During the Prototyping Process: From First Call to Final Build
If you’re building a new product, the prototyping process isn’t just a step; it’s a foundation. And it’s one of the most misunderstood parts of the journey.
A lot of people think they can save time or money by jumping straight into production. That shortcut usually backfires. You risk missing documentation, long delays, and a pile of wasted parts that can’t be used.
Prototyping isn’t about building a perfect version right away. It’s about learning what works, fixing what doesn’t, and making sure your final product is optimized for real-world use. Here’s what that process really looks like and what you should expect at each stage.
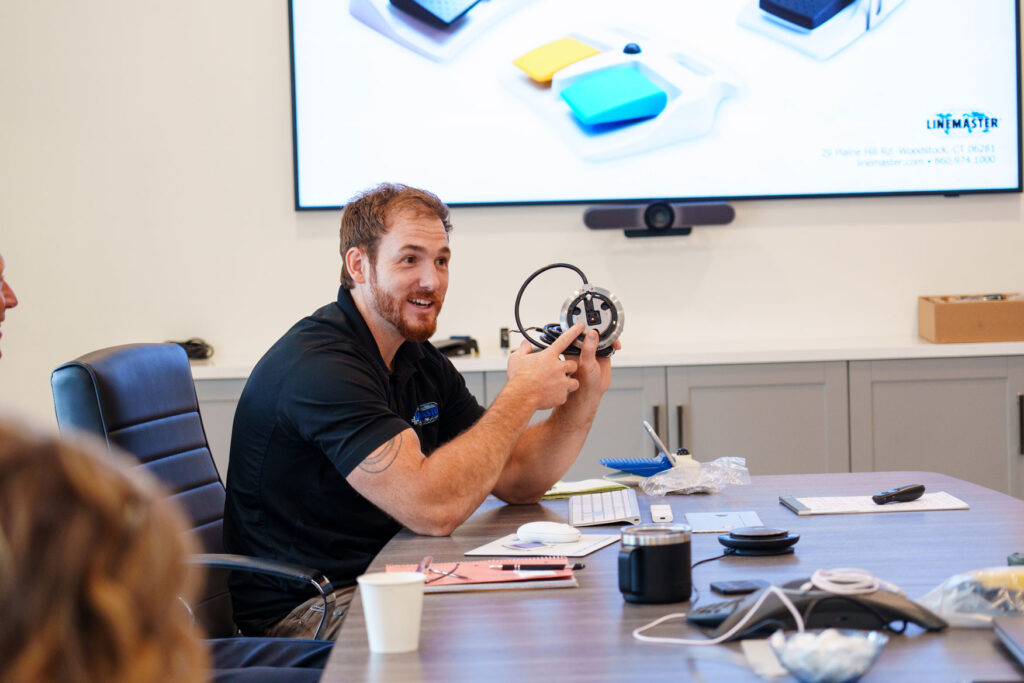
Stage 1: Discovery & Scoping
Together we can work to understand your functional requirements such as ON and OFF, linear, or momentary. Also determined is whether it needs to be wired or wireless and whether it is a brand-new build or something that can be adapted from an existing design. What is helpful at this stage: a wiring diagram, your basic specs, and a sense of what the final product needs to accomplish.
Some projects are scoped in a single call. Others take weeks or months. Either way, this phase sets the direction and helps both sides align before any design work begins.

Stage 2: Budgetary Quoting
Budgetary quoting is the fastest way to provide you with estimated pricing for a potential project using estimated volume. While not as detailed or accurate as a Production Release quote, this step helps gauge early interest and determine if the opportunity is worth pursuing further.
From your side, we’ll need decisions on:
• Estimated volumes used for pricing
• Any final requirements that weren’t covered in the discovery phase
Important Notes:
• These quotes are approximate and may vary by ±5%
• Orders cannot be accepted directly from a budgetary quote
• This is not a commitment to manufacture, but a way to see if the project is worth moving into prototyping or releasing into production
Renderings and budgetary quotes are usually delivered together, and any non-recurring engineering costs are clearly identified. This is when your budget really starts to come into focus and helps guide the project moving forward.
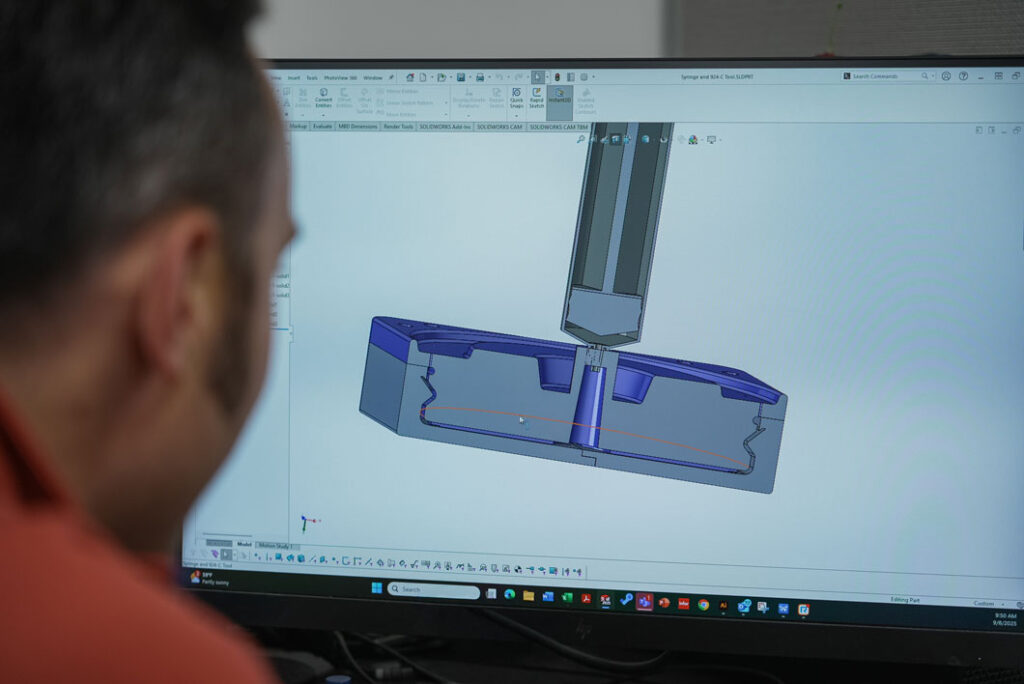
Stage 3: Prototype Design & Feasibility
This is where the idea starts to take shape. We get into CAD models, redline drawings, and part sourcing. Our job is to determine whether your concept is buildable and how to do it in a way that makes sense for your goals and budget.
From your side, we will need decisions on:
• How many units you will want for testing
• What kind of testing you plan to do
• Any must-haves like communication protocols, connectors to interface with your equipment, and LEDs to alert of different conditions
Stage 4: Building a Functional Prototype
Once the design is approved, and an order is received, we begin building. That includes ordering parts, finalizing the design, and starting any required firmware development. This is where communication matters most. You can determine LED behavior, pairing protocols, and button locations. Quick answers help keep everything on track. Delays at this stage usually come from missing information or slow feedback, not the actual build itself.
Cost at this stage depends on complexity. Wireless builds, custom tooling, or special materials will affect the price. Just to clarify, this is a functional prototype. It is not yet ready for regulatory approval.
Stage 5: Production Release
At this stage, you provide us feedback on changes required from the prototypes to make the design production ready. We will need your final documentation, including First Article Inspection quantities, test procedures, and operator instructions. From there, it is all about execution.
Production costs are quoted based on estimated volumes and V&V volumes. Component lead times and availability are dynamic, so the earlier you submit a PO, the smoother this phase will go.
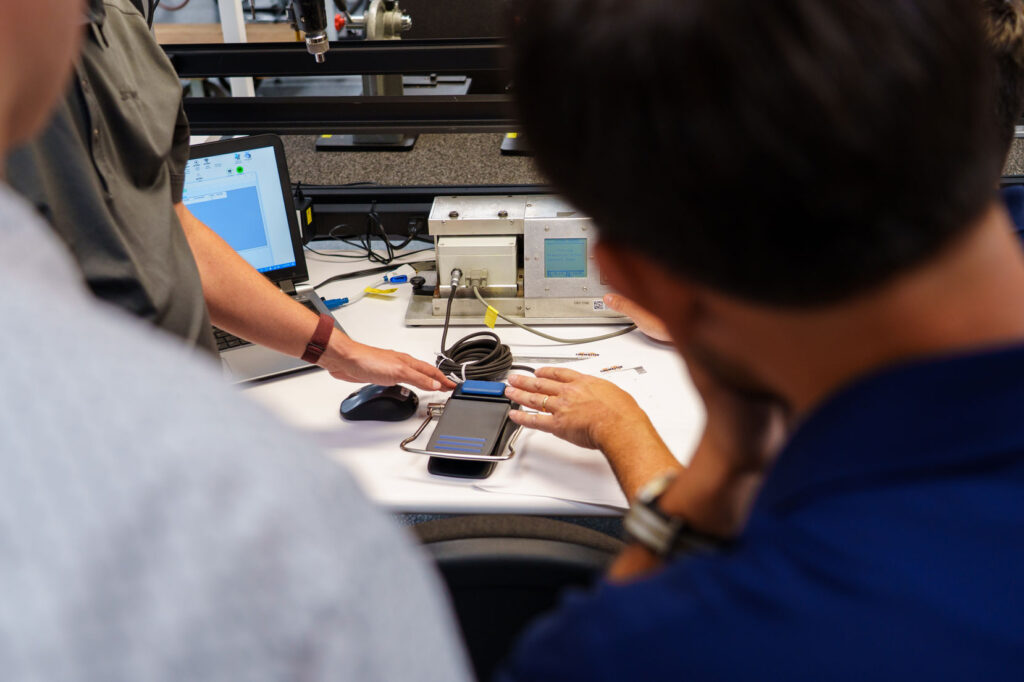
Stage 6: V&V (Verification & Validation)
This is where you receive a product to be validated. You’ll receive a spec document to review and approve. From there, we produce a small batch of units for V&V and lock in any final changes based on results.
Most unexpected costs at this stage come from late adjustments, such as adding special packaging or requiring tooling or documentation that wasn’t discussed earlier. Having a clear approval process upfront helps minimize these surprises.
Once V&V is complete, the design is released to production for standard manufacturing.
Common Mistakes and How to Avoid Them
A few things tend to trip up even well-planned projects:
• Not enough detail early on. Vague specs lead to vague quotes and missed expectations
• Changing scope midstream. Adding new features or materials late in the game slows everything down
• Slow communication. When responses lag, timelines get stretched. Weekly check-ins make a big difference
What a Smooth Project Looks Like
One customer in the medical space came to us with everything clearly defined. They had a wiring diagram, selected a connector that was readily available, and were open to using stock parts where it made sense. They also requested one specific customization, a toe loop, which we integrated early.
Because they were clear, decisive, and collaborative, we hit every milestone and shipped early.
Final Takeaway
Prototyping is not an extra step. It helps you avoid expensive problems later on. This is where problems get solved before you are dealing with delays, blown budgets, or parts that do not fit.
We know everyone wants to move quickly. However, skipping or rushing the early stages usually slows things down later. This process is about learning while it is still affordable to make changes. And when you are working with the right team, it does not have to feel complicated.
Got a project in mind? Let’s talk.
Reach out to your local sales representative. They will walk you through what we need to get started and what to expect at each step.
Want to dive deeper into how products go from concept to completion?
Visit our Learning Center for more practical guides, real-world examples, and technical insights to help you plan your next project with confidence.
Date Uploaded 09/08/25
In collaboration with Christian Smutnick (Applications Engineer) & Dave Drouin (Applications Engineer)
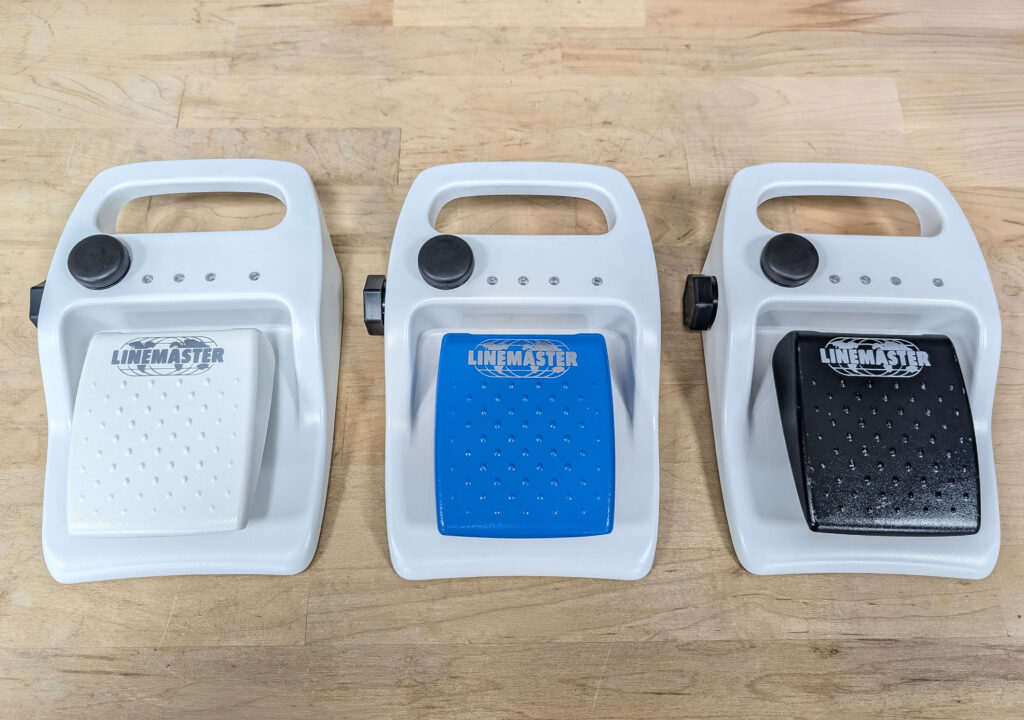
Custom Footswitches
Linemaster’s custom footswitches are designed to meet specific user requirements, offering a range of features such as various pedal configurations, wired and wireless options, and customizable LED indicators. These custom footswitches provide reliable, durable solutions tailored to enhance functionality in diverse applications.
